Building Inspection Stages
Building your new home is carried out in stages that involve different contractors working on various sections. As much as it is enjoyable to watch your home come together, it could also be stressful if you don’t know the process. That is why you have to be sure that everything went according to plan. That’s where professional building inspection stages come in – to ensure that building defects are identified and fixed, so you can be sure that everything is built properly. Builders often try to cut costs during building, and things do not get done right, which can cost you much more money and time later.
Below is more information for you about each inspection stage, such as when it is ready to inspect and some photos of what the stage looks like.
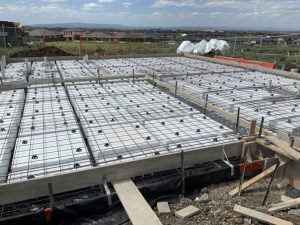
1. Pre-Slab Pour Inspection – An inspection of your home’s base, piers, steel and formwork prior to pouring concrete, to ensure that everything has been properly constructed and ready for concrete to be poured. This inspection is immediately (only a few days) after they install the drainage pipes. This is generally conducted the afternoon before the slab is scheduled for pouring the next morning.
When this stage is reached, the site should look something like this:
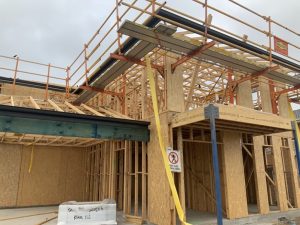
2. Frame Stage Inspection – This stage is reached once the wall and roof frame has been fully completed. The inspector will check the structural framework of the home for standard of workmanship and adherence to Australian Standard AS 1684 and to NCC’s Building Code of Australia.
When this stage is reached, your home should look something like this:
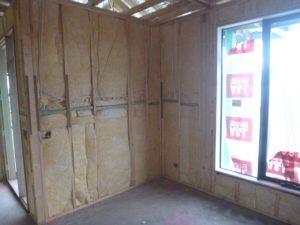
3. Pre-Plaster Stage Inspection – This stage is ready after the services trades (plumbers, electricians and heating contracts, etc) are complete, wall insulation batts are installed, but prior to installing plaster. The reason this stage is so important to inspect, is that it is the last chance to check the walls and roof frame prior to plaster.
When this stage is complete, your home should look something like this:
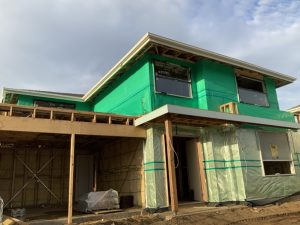
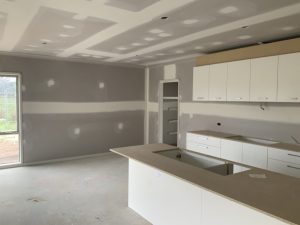
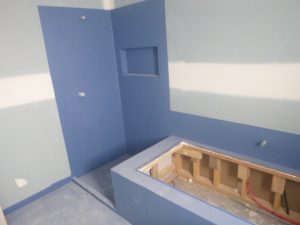
4. Fixing and Waterproofing Stage Inspection – After the waterproofing membrane is complete but prior to painting and tiling. We also inspect at this stage the fixing (doors, architraves and skirtings) and the plasterboard installation. Often, this is the first chance we get to inspect the brickwork, which we also do if completed during this inspection.
When this stage is ready, your home should look something like this:
5. Pre-Handover Stage Inspection – This is the final stage of the new home inspection process and the final opportunity to have your home inspected for any issues and defects, poor workmanship or compliance errors. Before you get handed your new house keys, you need to make sure the builder is aware of these issues and defects to have them rectified.
At this stage, your home may not necessarily be 100% complete, and may not even have a Certificate of Occupancy; however, this inspection occurs because builder deems the house to be practically complete.

Your new home needs to be inspected during the course of its construction to catch as many potential issues as possible before it is finished. Even if you do not need to be present during construction or during inspection, it is important to learn more about the building inspection stages and what’s behind the walls of new home and how everything works. And the most essential part of this process is to hire a professional building inspector to have in-detail inspections all throughout the build.
Request a quote now!
* We will never share your personal details with anyone. See our Privacy Policy for more information.
